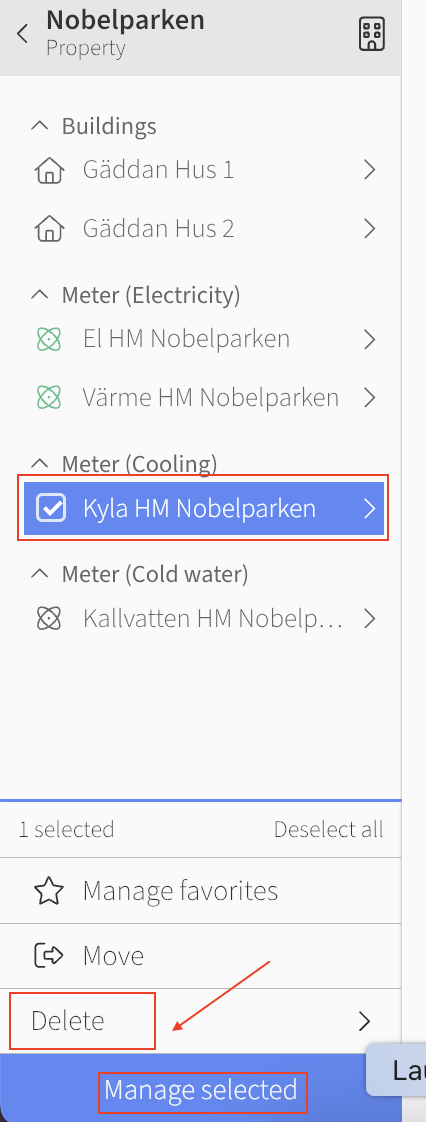
...
You will see an edit box where you can place a Start and End date by pressing the green toggle button, choosing the correct date in the box underneath and then press "Done".
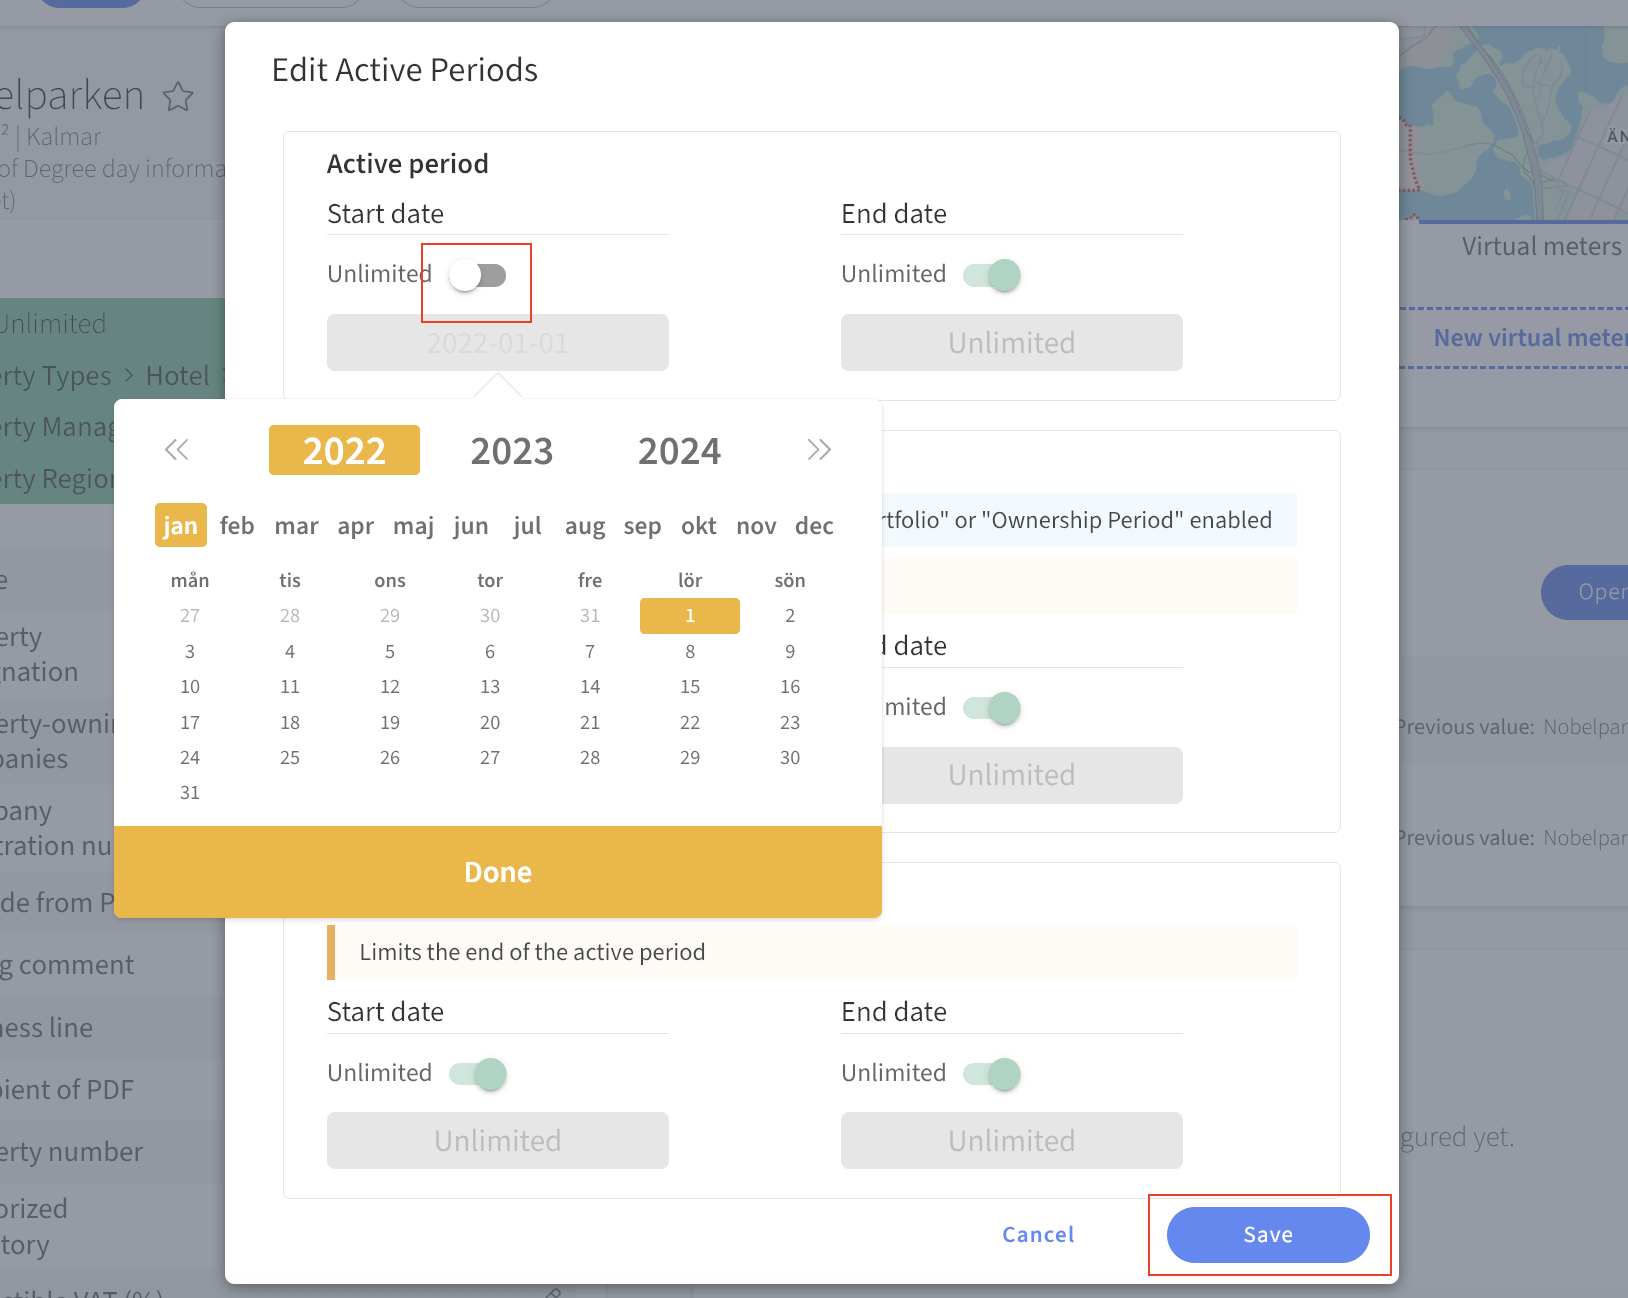

Click on "Save", and there we go!
...
NB: Placing a relation is a great tool for making your energy data to be relevant to the current property stock. Just place the dates right, or else we'll be standing there confused by the data which exists but do not show in any report ;)
NB: Remember that it’s the start date of the time relation on the property that affects how far back you can set the start date on an individual meter. If you have problems setting a date on a meter, the tip is to go to the property's time relation and change there to a date that matches what you want on the specific meter.
...
2. Press the blue button on "move" at the bottom below all meters (picture 1).
3. Select options that suit:1a If you want to decouple the meter, select decouple in the options (Fig. 1). These options can be useful if you happen to have dual meters and need to remove one of them. N:B! A decouple person disappears from the property, so make sure this is what you want to do before decoupling. If you have accidentally decouple, please contact support@mestro.com.1b If you property, building or building component you want to move the meter instead, you choose to proceed with the selections. Select the current meter and then select the group to which the meter is to be moved and select "move marked here" in the last step (picture 2)


.
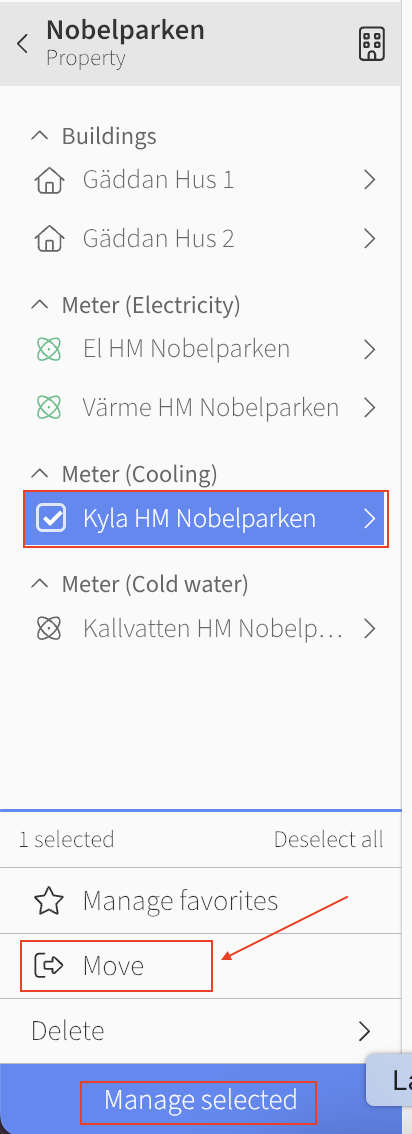
Archive meters
If you want to delete a meter, you can choose to archive it. You then proceed in the same way as moving the meter, but instead choose to archive on the blue button at the bottom. If you have accidentally archived the meter, you can choose to unarchive it. The meters remain inactive when they have been archived, to completely delete them contact us at support@mestro.com and we will help.