Creating, editing and deleting a rentable land area
A rentable land area can be created using the Rental area management. From the rental area management, select the level in which you want to create a new land area. Obviously, you can create land areas only for levels higher than the building. It is recommended to specify organization-wide rules that determine under which real estate hierarchy level the land areas should be created. From the right side of the summary page for the selected level, click on Create land area..
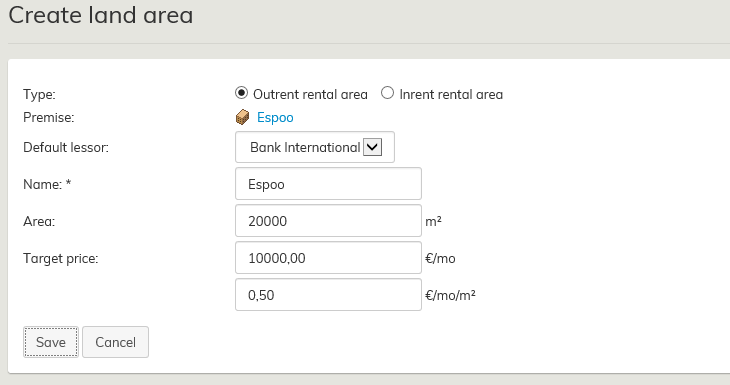
A new window will open up. Fill out the desired information, and select Save.
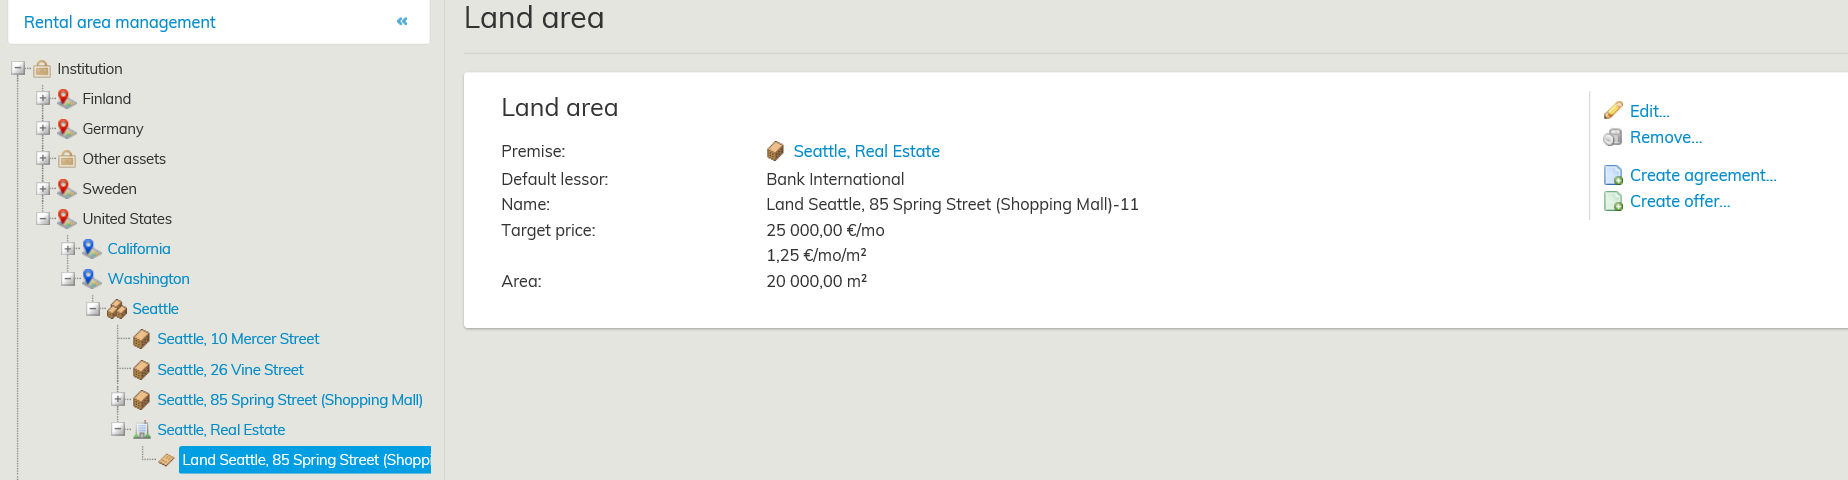
You can see the created land areas in alphabetical order under the selected level in the Rental area management.
Editing the land area
On the right side of the land area summary page, you can see the options Edit, Remove, Create draft agreement and Create offer.
By choosing Edit, the fields that you can edit will open up in a separate window. Edit or add data. Once finished, select Accept.
Deleting land area
You can find the Remove function on the right side of the land area summary page.

Confirm deletion by selecting OK, and the land area will be removed from register.